Friday, May 28, 2010

Shuswap Lake Festival of the arts portfolio-Pages 1&2


I had to submit my application for the Shuswap Festival of the Arts today, so I made a portfolio of the artwork i want to show, using some of the collaged materials that were used in the art as matting for the photos. I think it turned out pretty cool.

Shuswap Lake Festival of the arts portfolio-Pages 3-7


Shuswap Lake Festival of the arts portfolio-Pages 8-12


Shuswap Lake Festival of the arts portfolio-Pages 13-17


Tuesday, May 11, 2010

Fancy a dip?


So here is my third background. It was a lot of fun to make, i used a toothed trowel to get the "ripples". I then added mixed papers all over and then painted it.

I am currently rusting some wire for this piece, and i have lots more elements to create for all the pieces.

My fourth background is still drying as i had a two-step process for the texture!

More Yummy texture!


Here is another background that i started yesterday, and painted today. This one is simply golden crackle paste, and then painted with fluid acrylics. I may or may not change this one...

Monday, May 10, 2010

Mmmm...texture!


I thought i'd share/show off what ive been doing today. This is just the background, and its one of four that i started today using unsanded grout (yes the stuff you tile with) as a modelling base for texture.

This piece also has yummy holey tissue paper and some dryer sheets for more texture. Then i painted it like normal with fluid acrylics.

Thursday, May 6, 2010

Win Free Art!

Join my Altered Artifice page on Facebook here, (if you havent already), and once i have 100 fans (so get your friends to join too) i will start some competitions to win some of my art!
Its free, so you'd be crazy to not join!

Wednesday, May 5, 2010

letter fun!


Here is a little sneak peek of what ive been working on today...im finally getting Daniel's nameplate for his room done! Im still working on the "D", and im making a large mat for all the letters to sit on that is also collaged.

Im pretty happy how these have turned out, especially having been stuck on these things for almost a year!

Tuesday, May 4, 2010

"Aubade"


This is my second piece using the torn watercolour technique (i had so much fun making my heart my brain just started buzzing with new things to tear into existence!).

This one is called "Aubade", which is a cool word i stumbled across which means a song, instrumental or composition that concerns the dawn. I thought it made for an interesting idea to make a visual composition (the term usually applies to music) that might hint at the idea of the music of greeting the dawn.

To begin I used the same basic structure as i had for "Gemini", except i ripped only downwards after the first layer. After i had the basic shape in, i added torn pieces of watercolour paper inside the nest.

After layering my paint washes, I drew a bird (originally a sparrow) and its wing onto two pieces of watercolour paper and then painted them with "dawn" colours. I cut a slit into the body of the bird, and slipped the wing through and glued them. I added some copper wire to the back of the wing, and a small piece of wire to prop the wing up and then glued the body to my back ground.

I carved the small baby bird, with wing details. I then painted the baby bird to look like its parent. I made the eggs by dipping bits of sewing patterns into gel medium, and them rolling them into an egg shape with my fingers (very messy!). Once they were dry, i painted them with a thin wash of white paint. I then coloured them using blending chalk.

I glued all the eggs and the baby bird into the nest and voila! A greeting of the dawn!

"Gemini"


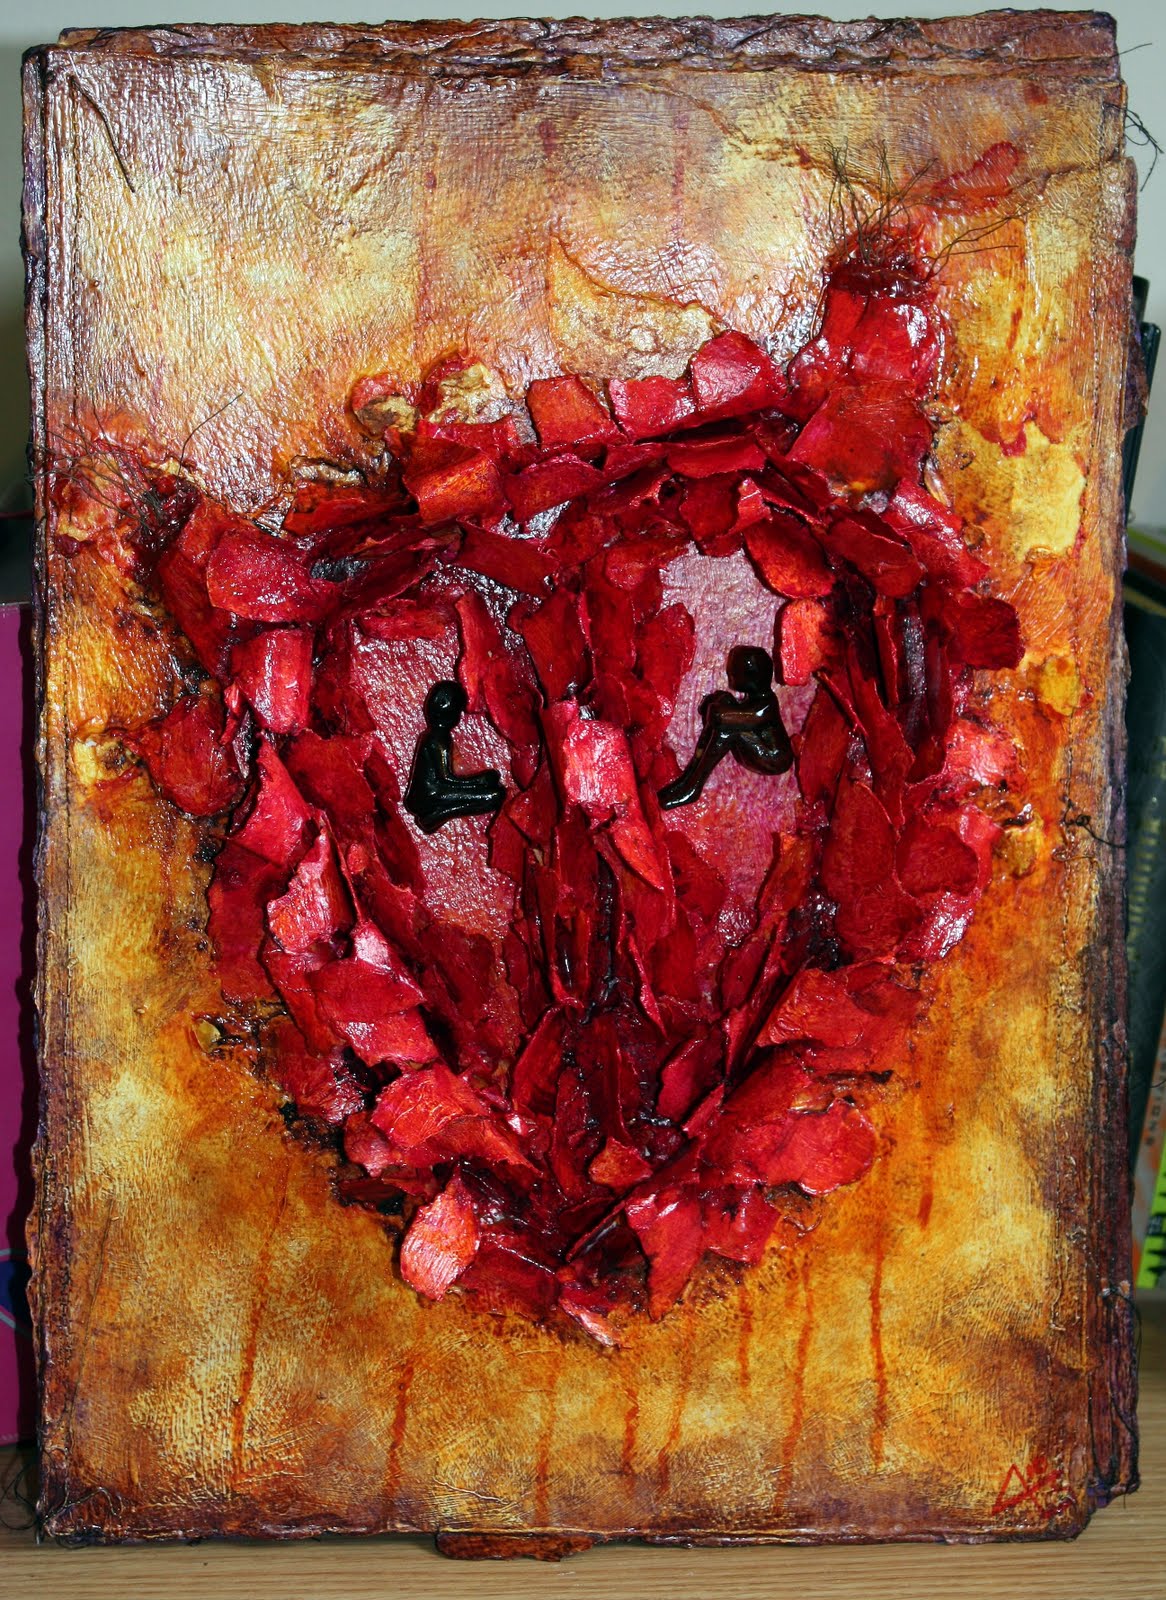
A Few weeks ago I posted a sneak peek of this piece, now entitled "Gemini".

It is made mostly of torn watercolour paper, and painted with fluid acrylics.

To begin i machine sewed 6 sheets of watercolour paper together in an accordion fashion (alternating sides- so i could still reach behind each sheet, but they were still all joined together).
I cut out the silhouette of the entire heart from the top sheet, to create a folding edge for my successive layers. Each layer after the first was torn from the middle to the edges, leaving the torn bits behind. The last two layers that i tore (i left one layer whole to form the back or there would be holes through the piece) were torn from two points (rather than just the centre) to create the chambers of the heart.

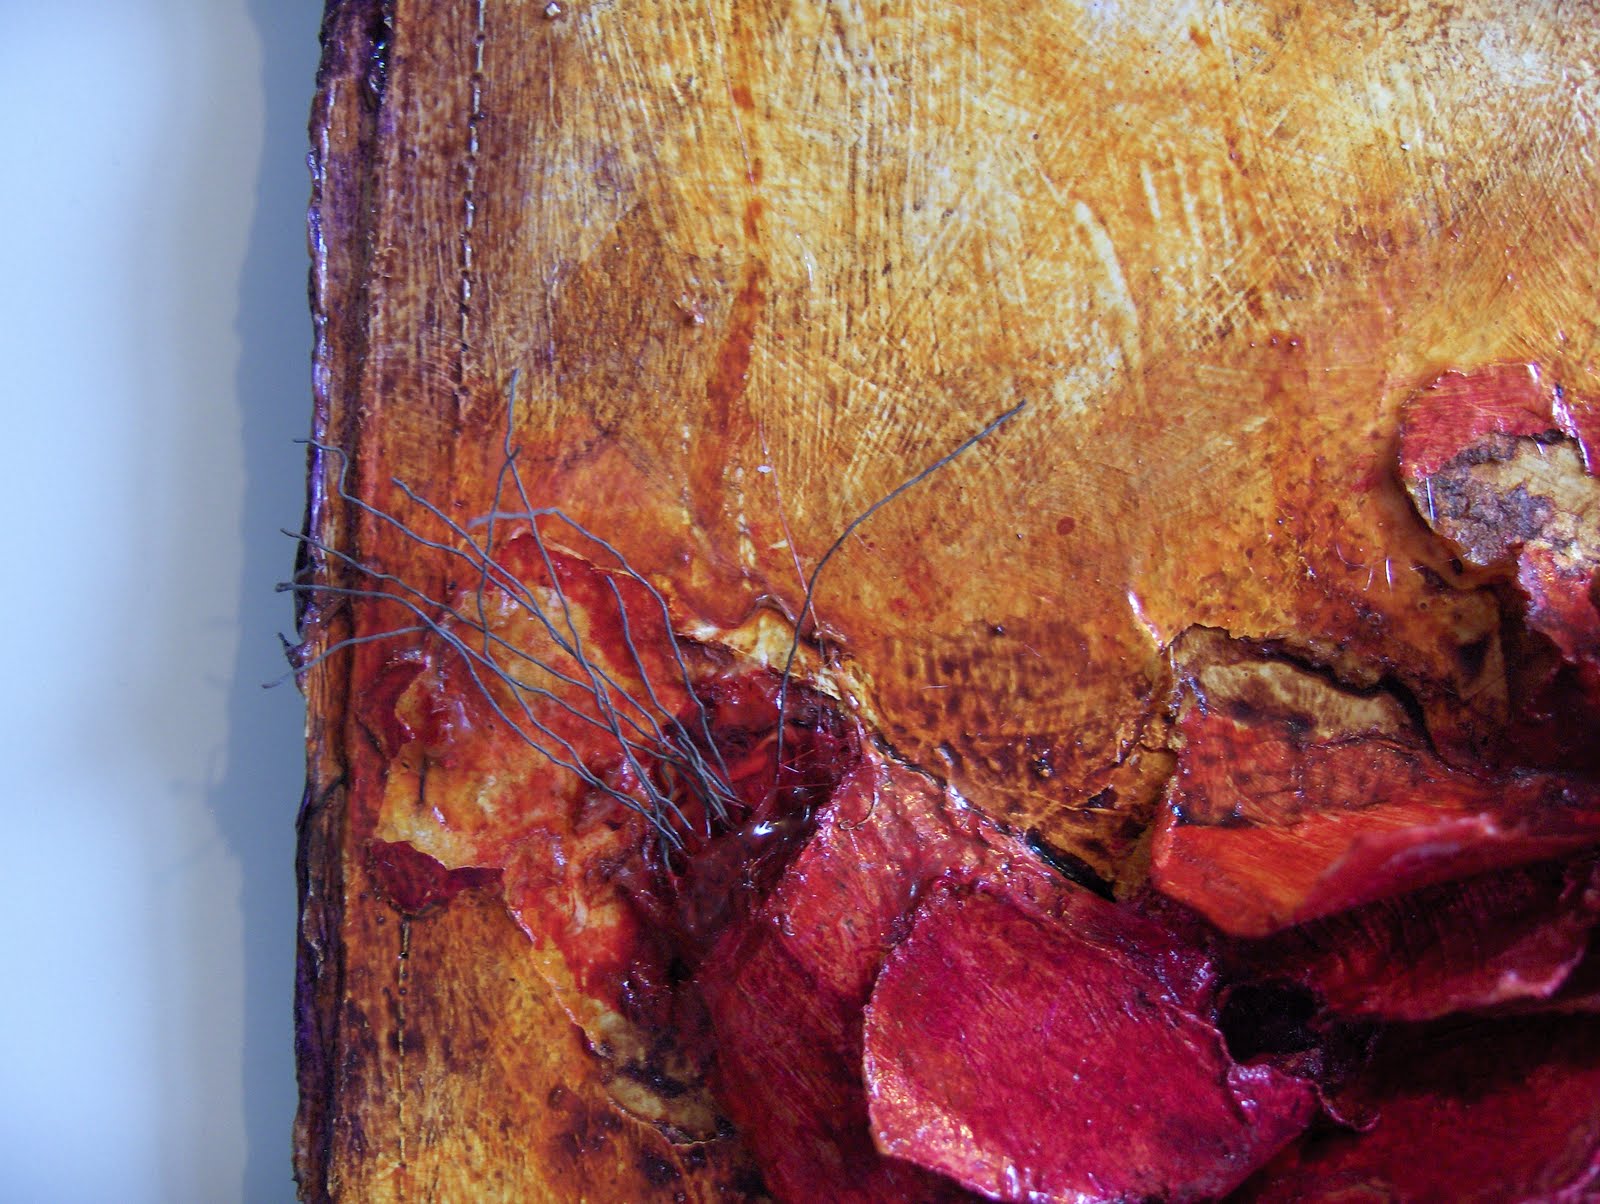
Once i was happy with the general layout of all the torn pieces, i went back with my hot glue gun and glued each and every little flap, and glued around each layer so they were all firmly joined. I glued around the unsewn edges of the watercolour paper, and then gessoed everything (ruining several paintbrushes in the process trying to get into all the little holes between the flaps!).

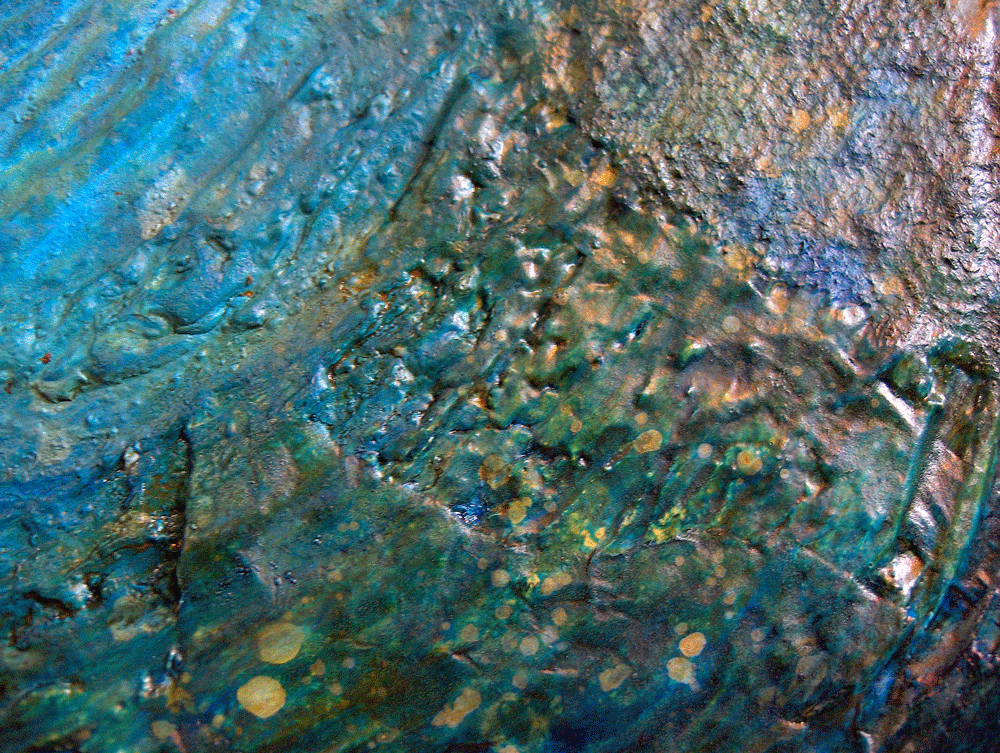
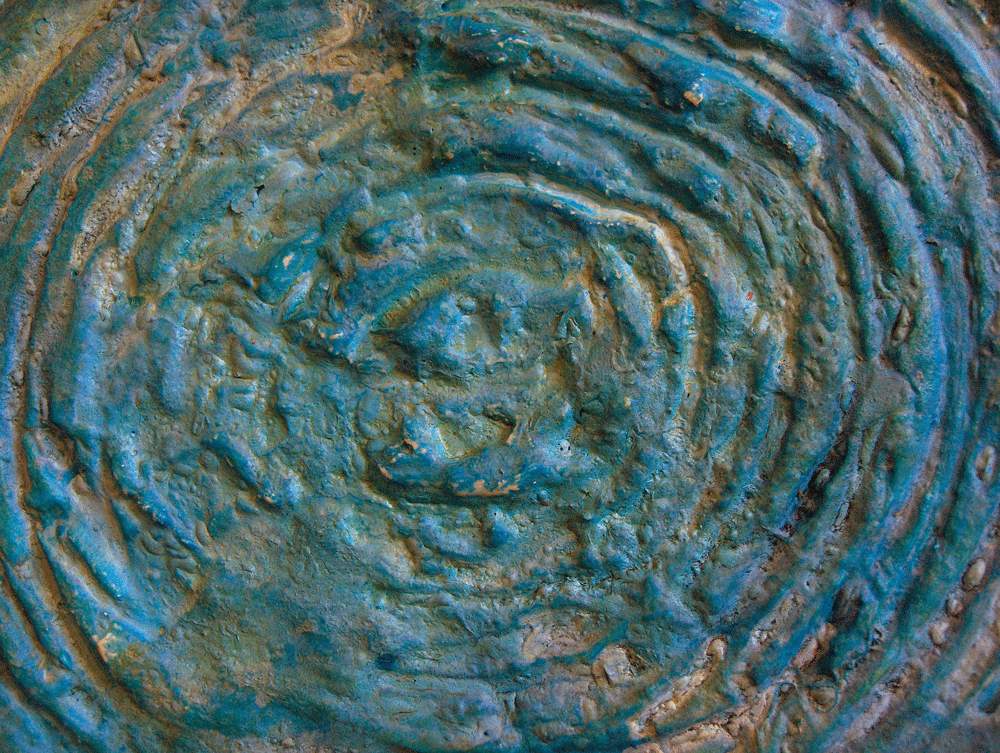
Once the gesso was dry, i covered everything in gel medium to let my paint move more freely. I started with a wash of azo gold, and then started building the heart up with washes of reds and crimsons and some more azo gold. I added a wash of azo gold and dioxide purple to create shadows and depth to the background, and wiped back some of the lighter areas with rubbing alcohol to add more light. I added some purple to my crimson wash and painted in the shadows of the heart.

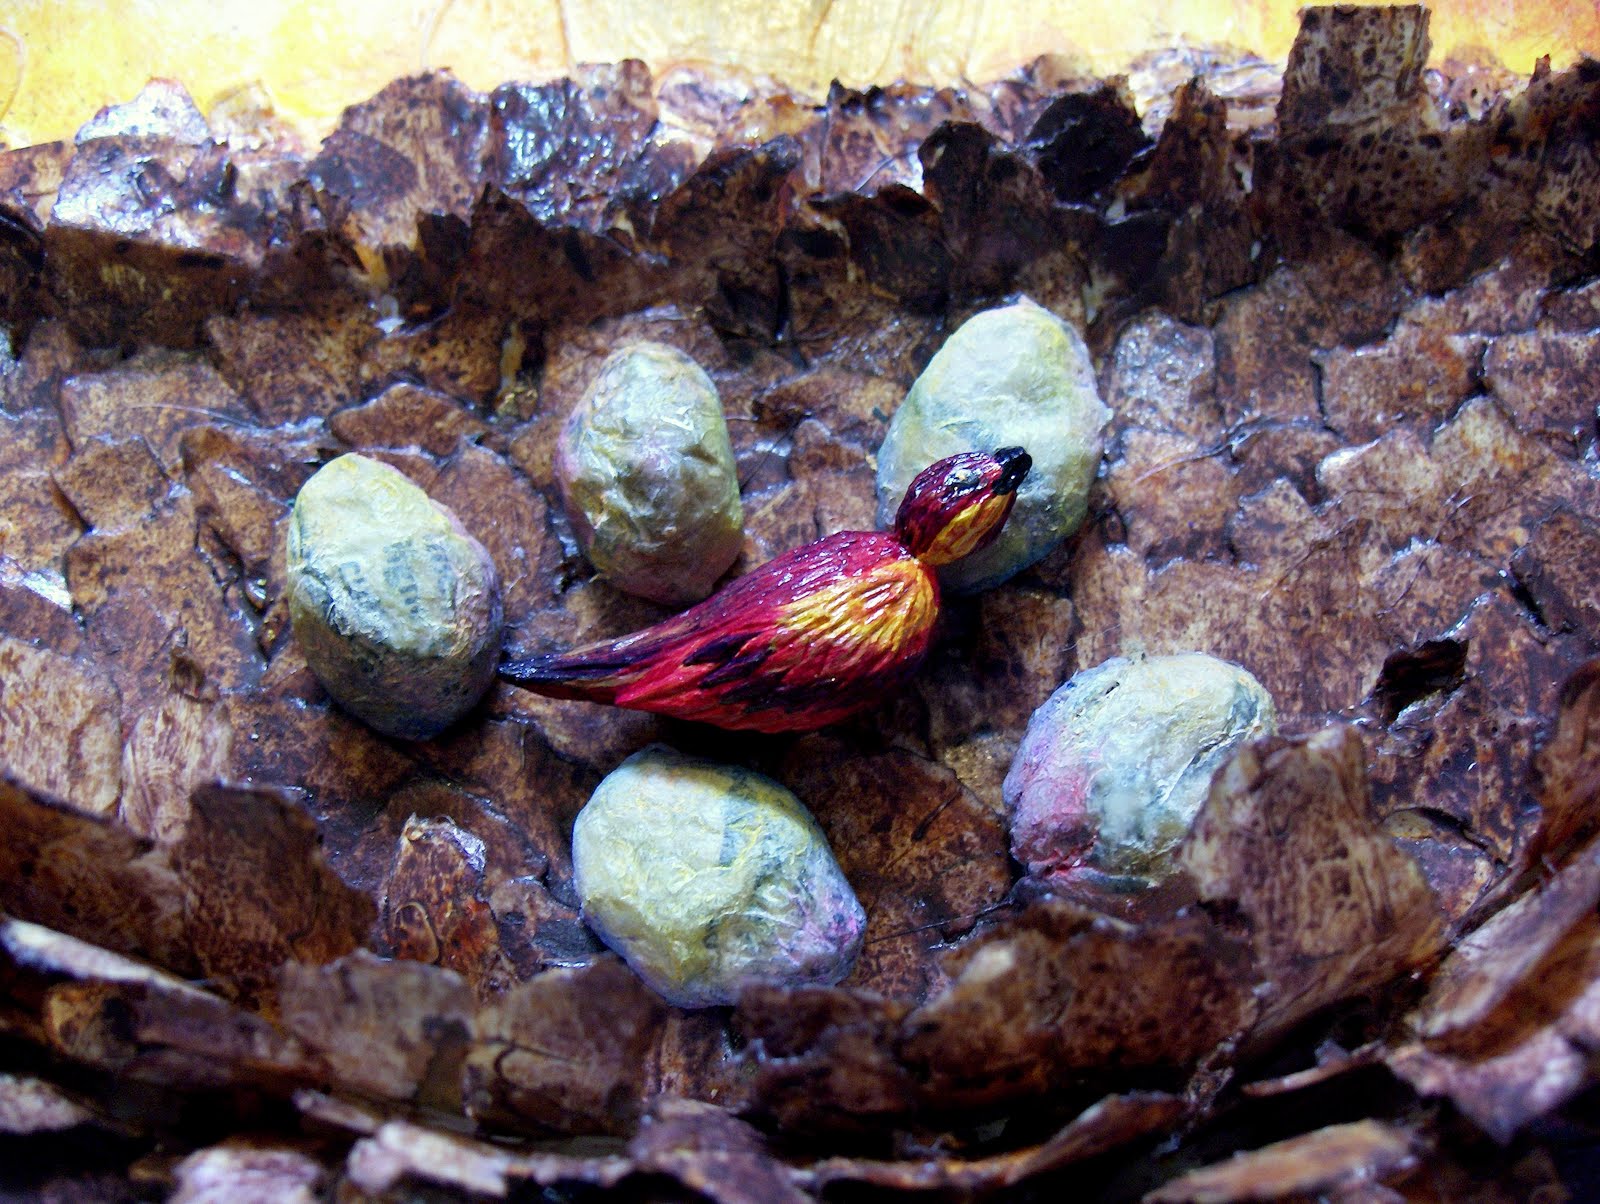
Meanwhile, I carved my two little guys from a 1" square of wood i sawed in half diagonally (thus two right angled triangles). After they were sanded down and smooth (and one little guy had his head and foot glued back on-working so small can be tricky!), I stained them both with a cherry/mahogany colour, and when i was happy with that, i lacquered them with a gloss.

My little people were glue gunned into position inside their chambers, and I added some wire pieces to the heart ventricles (again glue gunned-love that thing!). I added some more paint here and there were i thought it was needed and then i was done!

This piece stemmed from the idea of "twin souls", two souls who share one heart.